Automatically generated post images based on keywords with Nuxt Content 2
When I share a post on social media platforms (e.g. Twitter) it's good to have some kind of image that catches attention. It's not always easy to find the right picture for a technical posts. What if you could automatically generate one based on keywords?
Word cloud
I have always liked the so-called "word clouds": randomly distributed words of different sizes, arranged in such a way that overall they form an abstract image.
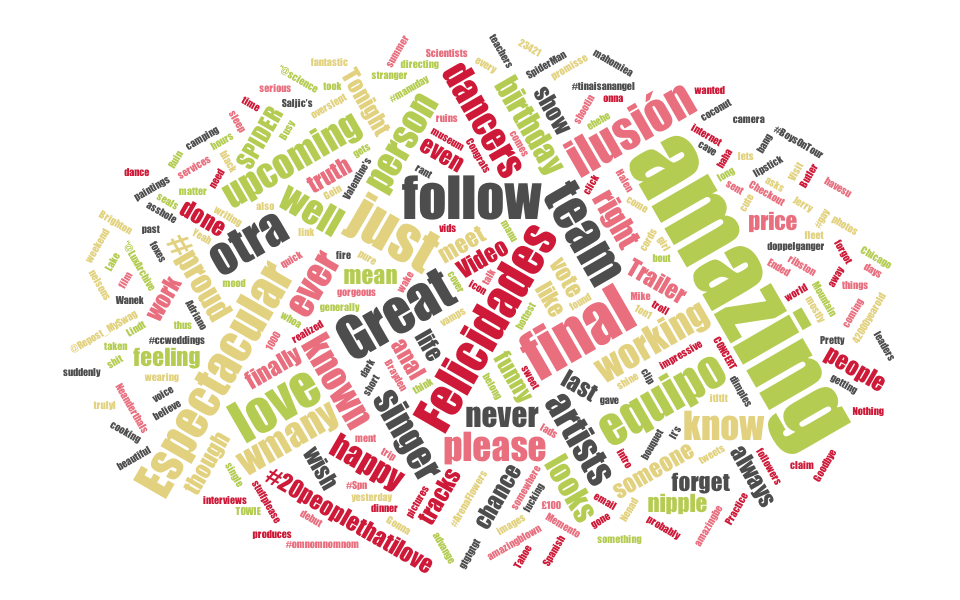
Example word cloud (source)
Recently I thought to myself that I could automatically generate this type of image for each post on my blog when prerendering the site. For each blog post I'm adding keywords (I'm not sure why but I do have them already) so maybe it would be nice to make word cloud out of them.
I definitely didn't want to come up with the algorithm myself (I might want to, but definitely I don't have the time for it at the moment). I found this library: d3-cloud. And it works!
d3-cloud ftw!
Let's generate some word cloud with d3-cloud.
import cloud from "d3-cloud";
import chroma from "chroma-js";

const primaryColor = "#00EE6F";
const secondaryColor = "#6087f3";

const generateCloud = (words: string[]) =>
  new Promise((resolve) => {
    return cloud()
      .canvas(() => createCanvas(1, 1))
      .size([1200, 630])
      .words(
        // double words to make cloud denser
        words.concat(words).map((text, index, all) => {
          // size based on index +/- some randomness
          const priority = (all.length - index) / all.length;
          const size = 10 + 50 * priority + 15 * Math.random();
          // pseudo-random color matching blog colors
          const color = chroma.mix(primaryColor, secondaryColor, Math.random() ** 2);
          return { text, size, color };
        })
      )
      .padding(5)
      .rotate(() => (~~(Math.random() * 6) - 3) * 30)
      .font("Verdana")
      .fontSize((d) => d.size)
      .on("end", resolve)
      .start();
  });
This function returns a promise with an array of the word objects that were successfully placed. Now it's the time to draw them!
svg ftw!
I love SVG because of it's simplicity. It's pretty straight forward how to create an SVG based on word cloud. First let's add generated words:
const cloudToSvg = (words) => {
  return `<?xml version="1.0" standalone="no"?>
    <svg width="1200" height="630" version="1.1" xmlns="http://www.w3.org/2000/svg">
      <g transform="translate(600,315)">${words.map((w) => `
        <text style="font-size: ${w.size}px; font-family: ${w.font}; fill: ${w.color};" text-anchor="middle" transform="translate(${w.x},${w.y})rotate(${w.rotate})">${
          w.text
        }</text>
      `)}
      </g>
    </svg>
  `;
};
Now I added some background and semi transparent logo:
<svg ...>
  <rect width="1200" height="630" fill="black" />
  <g transform="translate(30, -290)scale(2.3)" style="fill: rgba(255,255,255,0.2);">
    <path d="M 144.98 253.809 L 254.493 254.261 L 314.003 373.606 L 304.611 373.594 C 304.611 373.594 288.033 373.571 271.454 373.56 C 263.153 373.547 254.876 373.547 248.649 373.547 C 245.542 373.547 242.968 373.56 241.159 373.56 C 240.254 373.571 239.559 373.571 239.085 373.582 C 238.863 373.582 238.726 373.582 238.62 373.582 C 236.73 373.653 234.285 372.04 233.89 371.577 C 233.612 371.253 233.298 370.765 233.23 370.625 C 233.161 370.511 233.068 370.337 233.045 370.279 C 233.021 370.232 232.986 370.15 232.963 370.116 C 232.952 370.057 232.915 369.988 232.894 369.931 C 232.836 369.815 232.765 369.64 232.673 369.421 C 232.498 369.004 232.245 368.389 231.907 367.613 C 231.258 366.047 230.331 363.809 229.207 361.131 C 226.981 355.763 224.001 348.598 221.022 341.433 C 215.062 327.104 212.731 321.481 210.587 316.334 L 119.183 316.334 L 95.636 372.782 L 24.579 372.782 L 169.197 44.277 L 200.385 110.975 Z M 128.077 265.332 L 187.795 111.392 L 169.522 72.334 L 42.34 361.19 L 87.914 361.19 L 111.462 304.74 L 218.333 304.74 L 219.817 308.311 C 219.817 308.311 225.764 322.651 231.722 336.982 C 234.703 344.147 237.682 351.312 239.908 356.668 C 240.776 358.743 241.519 360.541 242.123 361.966 C 243.849 361.966 246.064 361.954 248.649 361.954 C 254.863 361.954 263.165 361.954 271.454 361.966 C 288.043 361.977 288.938 361.977 295.244 361.99 L 247.305 265.831 Z"/>
    <path d="M 255.396 156.898 L 264.184 156.898 L 364.4 156.909 C 364.4 156.909 384.862 158.126 406.462 168.386 C 427.736 178.497 451.956 199.109 457.508 235.618 C 462.993 271.617 452.476 300.508 441.057 319.208 C 429.382 338.316 424.526 340.982 419.747 345.375 L 476 455.723 L 394.972 455.723 L 316.693 300.275 L 327.08 301.26 C 327.08 301.26 343.95 302.709 360.343 298.386 C 368.55 296.219 375.588 293.087 380.91 287.57 C 386.242 282.05 389.21 275.71 387.866 264.88 C 386.253 242.088 377.465 232.35 368.725 226.888 C 360.573 221.788 354.406 221.984 353.572 221.984 L 284.775 225.579 Z M 353.084 210.402 C 353.084 210.402 364.041 210.276 374.881 217.057 C 385.141 223.48 396.467 237.822 399.413 263.814 C 400.339 277.378 396.063 288.566 389.244 295.627 C 382.428 302.688 372.423 307.187 363.299 309.586 C 345.027 314.409 343.253 312.855 336.088 312.995 L 402.113 444.129 L 457.08 444.129 L 405.175 342.291 L 408.989 339.359 C 408.989 339.359 420.571 330.489 431.157 313.168 C 441.996 295.442 451.108 270.596 446.053 237.358 C 441.069 204.629 421.429 188.339 401.488 178.867 C 381.847 169.535 365.826 168.608 363.902 168.492 L 272.972 168.492 L 292.253 213.567 Z"/>
  </g>
  <!-- ...word cloud... -->
</svg>
Cool! Before we will generate it for all blog posts. we need to save this image as JPG, PNG, or GIF because those are formats supported w.g. by Twitter. Unfortunately SVG is not supported.
Export SVG to PNG
To export SVG to PNG I used sharp library.
import sharp from "sharp";
import { writeFileSync } from 'fs';

export const writeSvgToPng = async (
  svg: string,
  outputPath: string
) => {
  const buffer = await sharp(Buffer.from(svg))
    .resize({ width: 1200, height: 630 })
    .toFormat('png')
    .toBuffer();
  writeFileSync(outputPath, buffer);
};
Note: If you know sharp you may know that there is a method sharp(...).toFile(...) which can save image as png. For some reason it didn't work on my M1 mac with Nitro that's why I used fs 😢
Let's now generate it automatically for all blog posts!
Nitro plugin and Nuxt Content hooks
As of the date of writing this post, @nuxt/content provides hooks that can be used to perform certain actions for each parsed content file at the project build stage. To use them you need to define Nitro plugin and register it in nuxt.config.ts.
server/plugins/previewImage.ts:
import { generateCloud, cloudToSvg, writeSvgToPng } from '@/scripts/wordCloud';

export default defineNitroPlugin((nitroApp) => {
  nitroApp.hooks.hook("content:file:afterParse", async (file) => {
    if (file._id.endsWith(".md")) {
      const fileName = file._id.split(':').slice(-1)[0].slice(0, -3) + '.png'
      const words = await generateCloud(file.tags)
      const svg = cloudToSvg(words)
      await writeSvgToPng(svg, `public/images/${fileName}`)
    }
  });
});
nuxt.config.ts:
// ...
export default defineNuxtConfig({
  // ...
  nitro: {
    plugins: ["@/server/plugins/previewImage.ts"]
  },
  // ...
})
And that's it!
Now all images are automatically generated on nuxt generate.
Results
Let's see how image for this article looks like:
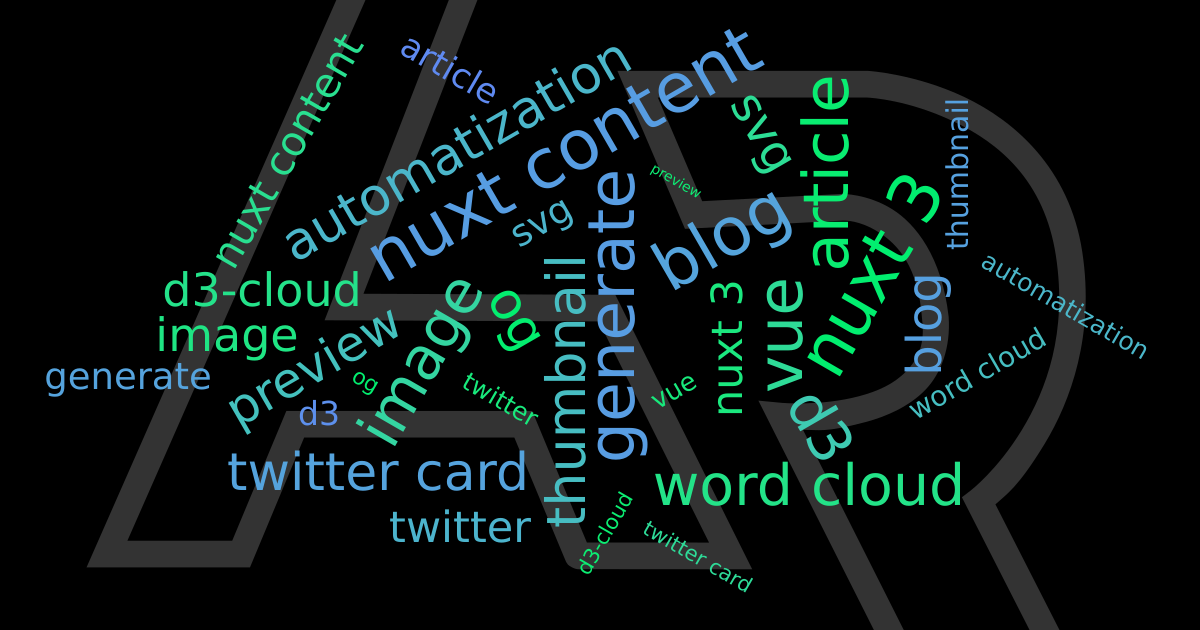
After adding some meta tags, this is how it looks when I share this page on my twitter:

Yum! 😋